最近開始接觸前端正夯的 Angular2 ,程式底子不好的我,在看了許多官方文件及影片後依舊懵懵懂懂,於是決定先著手寫個小範例來練習。
環境安裝
這篇主要以範例實作為主,故附上我參考的環境安裝流程文章以供參考。
→ 環境安裝傳送門 ( Will 保哥-新手入門篇 實作環境說明)
範例實作
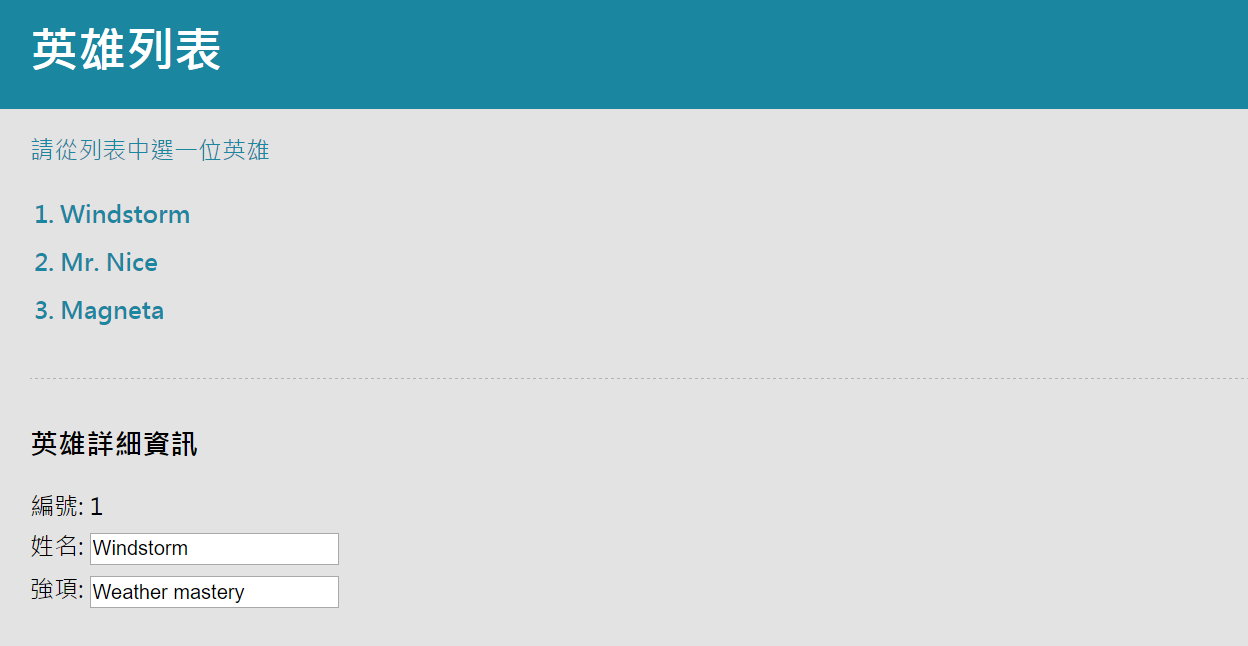
此官方範例可讓初學者了解 Angular2 基本架構,學習如何宣告變數、傳值,並使用 ngFor、ngIf 將 原本靜態的網頁成為動態網頁。
★ 範例功能:點選英雄列表中之一位英雄,英雄詳細資訊區塊將顯示該位英雄的編號、姓名及強項
Step 1:準備純靜態 Template
1 2 3 4 5 6 7 8 9 10 11 12 13 14 15 16 17 18 19
| <div class="hero-profile"> <div class="header"> <h1 class="title">英雄列表</h1> </div> <div class="hero-detail-wrap"> <p class="sub">請從列表中選一位英雄</p> <ol class="hero-list"> <li>Windstorm</li> <li>Mr. Nice</li> <li>Magneta</li> </ol> <div> <h3 class="hero-detail">英雄詳細資訊</h3> <label class="hero-form">編號: 1</label> <label class="hero-form">姓名: <input type="text" name="name" value="Windstorm"></label> <label class="hero-form">強項: <input type="text" name="power" value="Weather mastery"></label> </div> </div> </div>
|
1 2 3 4 5 6 7 8 9
| .hero-profile { font-family: "Microsoft JhengHei"; } .header { background: #1a869f; padding: 10px 20px; } .title { color: #fff; margin: 0; } .title { margin-bottom: 10px; } .sub, .hero-list { color: #1a869f; } .hero-list { padding: 0 20px 30px; margin-bottom: 30px; font-weight: bold; line-height: 2em; border-bottom: 1px dashed #b3b3b3; } .hero-list li { cursor: pointer; } .hero-detail-wrap { padding: 0 20px; } .hero-form { display: block; margin-bottom: 5px; }
|
★完成以上動作後,可以看到基本的靜態頁面了!
Step 2:將英雄列表變成動態列表
首先須建立一個英雄列表的資料檔案,在 app 資料夾下方建立一個 hero.ts 檔,用來放入英雄們的資訊。
- hero.ts
使用 export 宣告一個 Heros 陣列,以便待會在 app.component.ts 中可引入使用,陣列中以物件(objects)的形式放入英雄們的詳細資訊。
1 2 3 4 5 6 7 8 9 10 11 12 13 14 15 16 17
| export var Heros = [ { id: 1, name: "Windstorm", power: "Weather mastery" }, { id: 2, name: "Mr. Nice", power: "Killing them with kindness" }, { id: 3, name: "Magneta", power: "Manipulates metalic objects" }, ]
|
- app.component.ts
先用 import 引入剛剛在 hero.ts 中用 export 宣告的 Heros 陣列,接著在 AppComponent 的 class 中宣告一個全域變數 heros,並將 Heros 陣列中的物件資訊放入 heros 中。
1 2 3 4 5 6 7 8 9 10 11 12
| import { Component } from '@angular/core'; import { Heros } from './shared/hero'; @Component({ selector: 'app-root', templateUrl: 'app.component.html', styleUrls: ['app.component.css'] }) export class AppComponent { public heros = Heros; }
|
- app.component.html
將靜態的英雄列表,以 *ngFor 的方式帶入剛剛在 app.component.ts 中宣告的 heros 變數。並以 hero 代表該位英雄,在 li 標籤中放入 {{hero.name}} 列出英雄姓名。
1 2 3 4 5
| <ol class="hero-list"> <li *ngFor="let hero of heros">{{hero.name}}</li> </ol>
|
★現在的英雄列表已經是動態的囉!
Step 3:將點選到的英雄資訊列出
- app.component.ts
在 app.component.ts 中宣告一個 selectHero 方法,以實現點選一位英雄後要執行的動作,也就是列出英雄詳細資訊。並宣告一個空的全域變數 selectedHero,用來置放被點選的英雄資訊。最後在 selectHero 方法中傳入被選取的 hero 變數,並將 hero 中的英雄詳細資訊放入 selectedHero 中。
1 2 3 4 5 6 7 8 9 10 11 12 13 14 15 16 17 18 19 20
| import { Component } from '@angular/core'; import { Heros } from './shared/hero'; @Component({ moduleId: module.id, selector: 'app-root', templateUrl: 'app.component.html', styleUrls: ['app.component.css'] }) export class AppComponent { public heros = Heros; public selectedHero; selectHero(hero){ this.selectedHero = hero; } }
|
- app.component.html
先將點選時呼叫 selectHero 方法的事件寫在英雄列表的 li 標籤中,並帶入代表該英雄的 hero 變數。在顯示英雄詳細資訊的區塊最外層的 div 標籤內放入 *ngIf,並以 selectedHero 是否有值來判斷內容的顯示。
詳細資訊中的編號、姓名、強項則以 selectedHero 變數分別帶入,並在顯示姓名、強項的 input 標籤內將原本靜態時的 value 換成以 ngModel 代入 selectedHero 變數。
1 2 3 4 5 6 7 8 9 10 11 12 13 14 15 16 17 18 19 20 21 22
| <div class="hero-profile"> <div class="header"> <h1 class="title">英雄列表</h1> </div> <div class="hero-detail-wrap"> <p class="sub">請從列表中選一位英雄</p> <ol class="hero-list"> <li *ngFor="let hero of heros" (click)="selectHero(hero)">{{hero.name}}</li> </ol> <div *ngIf="selectedHero"> <h3 class="hero-detail">英雄詳細資訊</h3> <label class="hero-form">編號: {{ selectedHero.id }}</label> <label class="hero-form">姓名: <input type="text" name="name" [(ngModel)]="selectedHero.name"></label> <label class="hero-form">強項: <input type="text" name="power" [(ngModel)]="selectedHero.power"></label> </div> </div> </div>
|
★如此一來就大功告成啦!此時點選上方的英雄列表,下放即會立即顯示該位英雄的詳細資訊囉!
參考資料